Zoom (the sequence of images)
Reconstruct a story of images without seeing them: listen, describe, and change perspective.
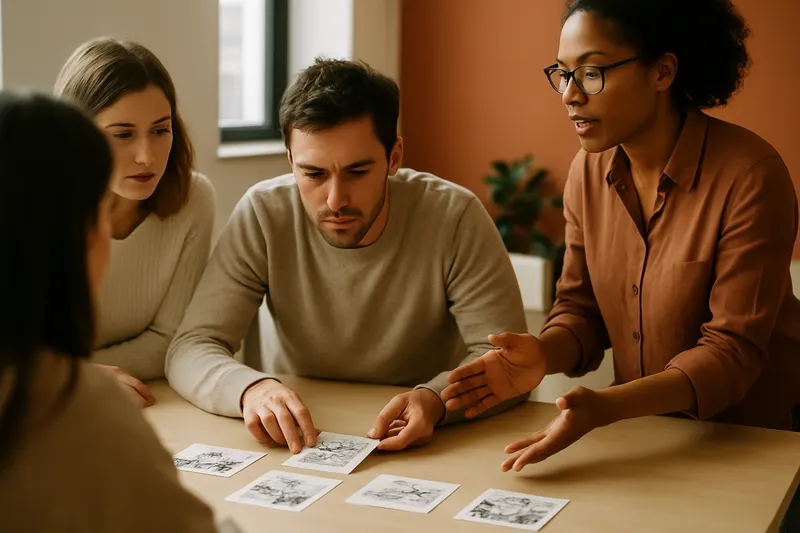
Zoom is a cooperative activity based on the wordless album Zoom by Istvan Banyai, in which each page is a zoom out from the previous page. Each participant receives an image that they keep hidden, and the group must reconstruct the complete order solely through oral description. The game highlights the challenge of sharing partial information, listening attentively, and changing viewpoints. It is particularly useful for working on communication, precision, coordination, and systemic understanding.
Walkthrough
- 1
Prepare the sequence and the setting
5 minBefore the group arrives, the facilitator prepares the separate and laminated pages of the Zoom album, in random order, without revealing the content. They ensure there is one image per participant or adjust the number of pages used to match the number of attendees. Since the images are from a published album, they use a legally obtained copy and do not reproduce the content in a training material. They arrange the room so that participants can easily talk to each other, standing or in a circle, without seeing each other's images.
Tip — Discreetly number the back of the images to facilitate your final check, but never let this marker be visible or guessable by the participants.
- 2
Launch the challenge
3 minThe facilitator presents the objective without explaining the zoom-out logic of the album, in order to preserve the discovery. They say: "You will each receive an image. Your collective mission is to reconstruct the complete sequence in the correct order, solely by talking to each other." They clarify that the group succeeds when they believe they have found a common order. They announce that the activity will last about 20 to 40 minutes, depending on the size of the group and the time needed for discussion.
Tip — Maintain a simple and concrete challenge tone: too many explanations at the start diminish the learning effect on hypotheses and changes in perspective.
- 3
Distribute the images and set the rules
3 minThe facilitator hands an image to each participant, face down, and then asks everyone to look at it alone. They clearly state the central rule: "You do not show your image to anyone until the final signal. You can describe everything orally, ask questions, compare your descriptions, but do not reveal the image visually." Participants silently take in their image for a few moments. The facilitator checks that everyone understands that all cooperation relies on speaking and listening.
Tip — Ask participants to hold the image against themselves or towards the ground; this avoids accidental glances, especially in large groups.
- 4
Individually describe the information
5 to 8 minThe facilitator invites the group to start with a round of descriptions, without immediately seeking the final order. They might say: "Describe what you see precisely: objects, characters, framing, notable details, impression of scale. Avoid jumping to interpretations too quickly; first, say what is visible." Each participant shares the key elements of their image, while others listen and mentally note possible connections. This phase establishes a common vocabulary and limits hasty decisions.
Tip — If descriptions remain vague, prompt with neutral questions: "What is in the centre? What do we see around? Is it a close-up or a wider view?"
- 5
Collectively build the order
10 to 20 minThe facilitator allows the group to self-organise to place themselves in the presumed order of the sequence. They remind if necessary: "You can move around, line up, form sub-groups, test hypotheses, but the images remain hidden." Participants compare their descriptions and look for links between the images: inclusion, continuity, change of scale or perspective. The facilitator observes the modes of communication without solving the puzzle for them.
Tip — Resist the urge to help with the content; intervene only on the process, for example, if one voice dominates or if someone has not yet described their image.
- 6
Validate the group's hypothesis
3 to 5 minWhen the group announces they think they have finished, the facilitator asks for a final collective validation. They say: "Before revealing, check one last time: does everyone know why they are in this position? Is there an image that is still under debate?" Participants adjust their position in the sequence if necessary. This step forces the group to articulate their criteria rather than settling for a fragile consensus.
Tip — Have the areas of uncertainty named before the reveal; they will provide excellent entry points for the debrief.
- 7
Reveal and verify the sequence
5 minAt the facilitator's signal, each person places their image face up at the spot where they are in the sequence. The group then observes the complete sequence and checks if the chosen order corresponds to the logic of the album, where each page is a zoom out from the previous one. The facilitator first allows participants to notice for themselves the successes, mistakes, and surprises. They can then confirm the correct order based on the prepared set of images.
Tip — Allow a brief silence of observation after the reveal: insights often emerge even before you ask the first question.
- 8
Debrief the learnings
10 to 15 minThe facilitator refocuses the group on the experience lived, not just on the success of the ranking. They remind the targeted learnings: to describe precisely, listen, change scale and perspective, and recognise that everyone holds part of the information. They invite participants to relate what happened to their work situations: information flow, decisions made with partial data, silos, or implicit assumptions. They conclude by having the group articulate a transferable learning.
Tip — Start with observable facts before the lessons: "What did we do?" then "What does this say about our way of cooperating?"
Variants
- Play a first round very quietly from the facilitator's side, then a second with another excerpt or comparable visual support, asking the group to explicitly apply the identified communication learnings.
- For a large group, ask participants to start by forming temporary sub-groups based on described similarities, then bring the sub-sequences together into a single line.
- To reinforce listening, impose an initial speaking round where each person describes their image without interruption; questions are only allowed after this first round.
- Remote variant not recommended for the original experience, as the verified format is in-person and relies on hidden physical pages. If adaptation is necessary, use a secure tool that assigns a private image to each person, without screen sharing, then have them reconstruct the order solely orally.
Debrief guide
- What helped you describe your image in a way that was useful for others?
- At what moments did you realise that you needed to change scale or perspective?
- What information was misunderstood, forgotten, or interpreted too quickly?
- How did the group decide that a hypothesis was sufficiently solid?
- Who held important information that was difficult to convey, and what happened?
- What parallels do you see with our work situations where everyone only has part of the picture?
- What concrete practice could we adopt to better share incomplete information?